
The Problem of the Tile and the Studio Theatre
by Billy Wilburn and Corey Shelsta
In our latest production of Proof by David Auburn, we were presented with a challenge.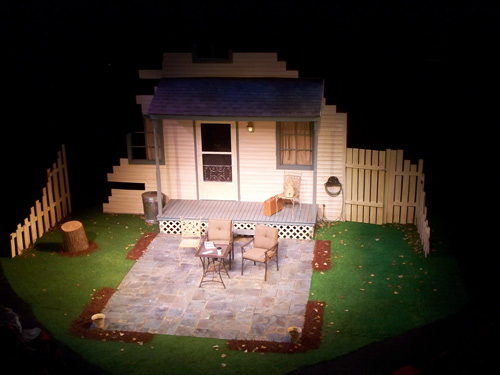 The challenge was to design a floor for the production in a studio environment. After many meetings with the director, we decided that we wanted a semi-realistic set. We knew we could use some of the raffia grass mats for the grass but we also wanted a slate tile patio.
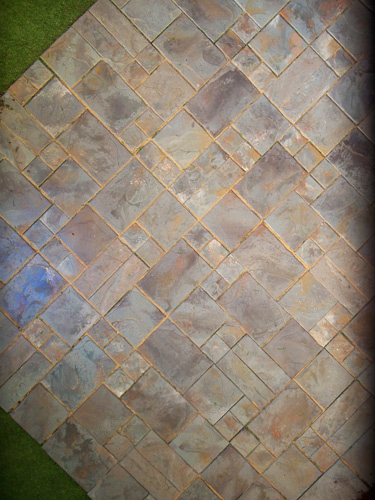 In a proscenium setting we could paint a slate tile floor, but since the audience is very close we knew a dimensional approach would be needed. After much experimentation, we came up with the technique laid out below.
The first step was to buy ½” MDF and cut the size of tiles desired. In our case, we had several sizes to create texture and interest. MDF was chosen because of its ability to chip and it is inexpensive.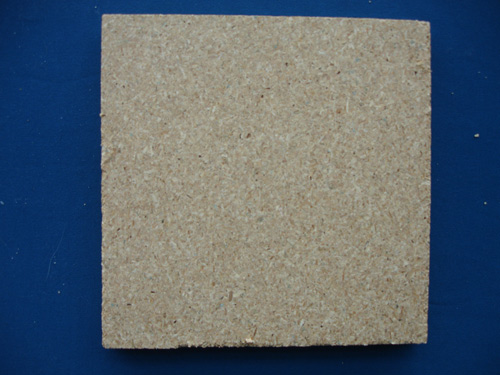
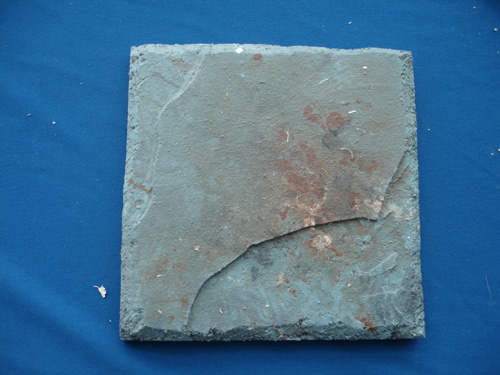
The second step was to create the texture and chipped quality of slate tile. This was created two different ways. We started by drawing lines on each tile to chip away from. In one of the techniques, we used chisels to chip away each tile. 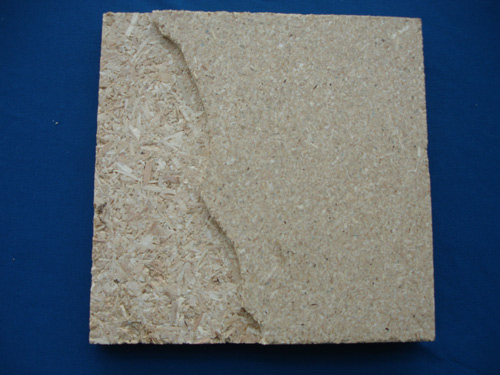 The problem with this technique is that it was very time consuming. The second technique we developed using a router set at a depth of about 3/16”. While the router tiles were not as “textured” as the chiseled tiles, they were much faster to complete.
The third step was to create the chipped edge of each tile. 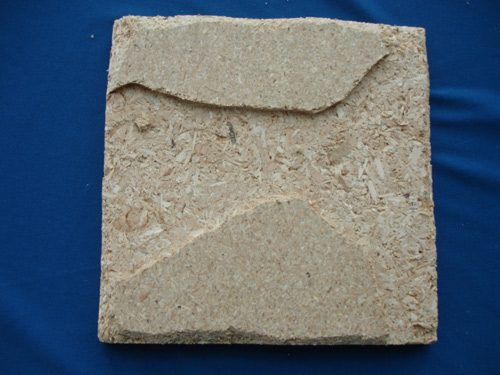 This was achieved by using hatchets and chisels to chip away the edges of each tile.
The fourth step was to basecoat each tile. This is an important step because MDF can absorb a large amount of paint if the surface is not sealed properly.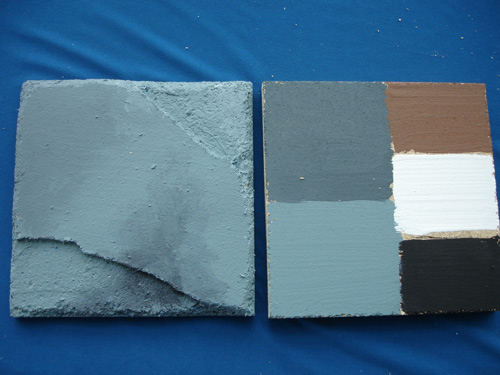 Once the tile is painted let it dry.
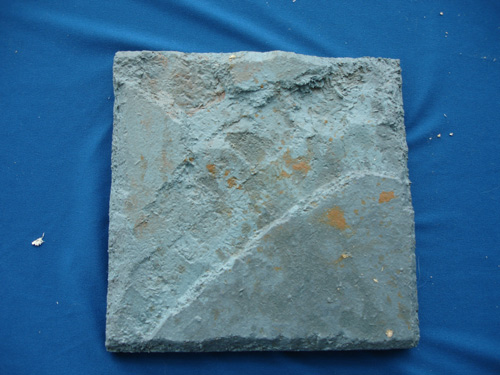
The fifth step was to blend several colors to create the depth and layering of a slate tile. After wet blending, spatter it lightly with water while it is still wet.
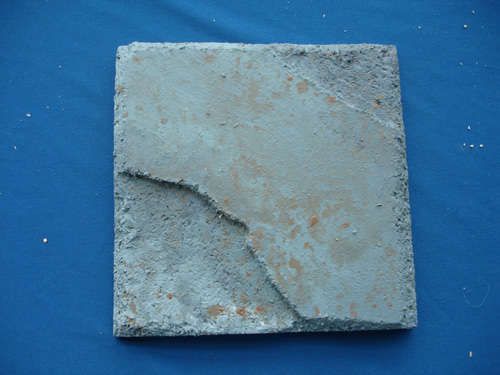
The sixth step was to create the modeled effect that occurs naturally in slate tile. The tile will be wet from the previous step. Next we spattered with accent colors and water. In this process we worked very wet. We picked up the tile and tilted it slightly to create more modeling and then let it dry completely.
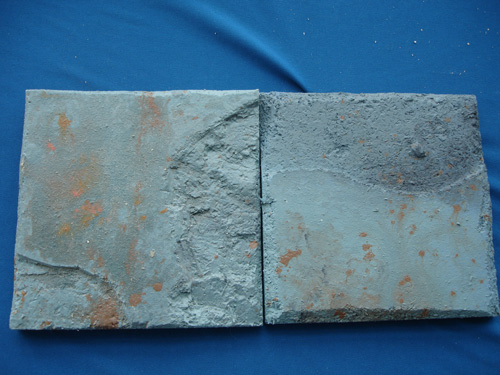
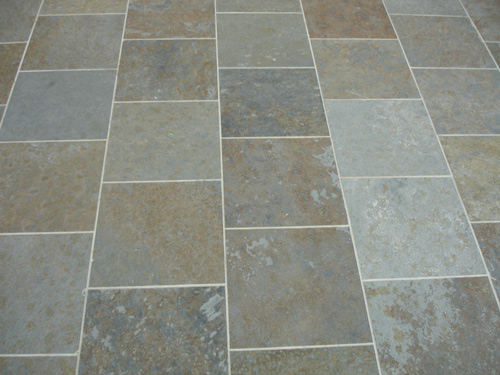

The final step we used gave the tiles the sheen of real slate tiles. To do this we spattered heavily with a 50/50 mixture of a clear sealer and water and let it dry. We found that you cannot use a fan to speed drying time in the last step. If we did use a fan the sealer would sometimes dry cloudy.
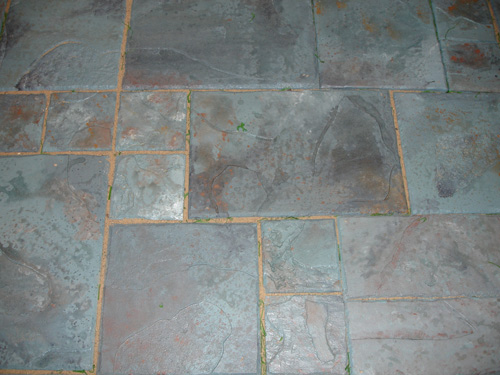
After the tiles have dried we then laid them on the floor and held them in place with staples. To add one more level of realism we used a broom to push sand in the spaces between each tile. This technique created an amazing and realistic slate tile. After curtain call each night, many patrons would walk up and touch the floor, amazed that it was made out of wood.
Billy Wilburn and Corey Shelsta are producing Theatre and tiles at South Dakota State University ![]()