Tracking Platforms, Hidden Doors and Disappearing Stairs – Solutions for Technical Challenges in Legally Blonde, the Musical.
by Corey Shelsta, South Dakota State University
Our recent production of Legally Blonde contained a number of scenic effects, some called for in the script and others just for the spectacle. We wanted to add as much in to the musical as we could to increase the “wow factor” of the anticipated audience. Younger audiences, as this musical appealed to, often expect more in terms of production elements.
Tracking Platforms
The first and most formidable hurdle were the tracking platforms. This show used three platforms, all running independently. Two moving on a horizontal plane from stage left and stage right to center and the third moving upstage downstage along the center line. Tracking scenery on stage is quite common, but often has high costs associated with it. The costs of motors, limit switches and controllers was prohibitive for this many platforms so we decided to use a manual winch system.
The winch mechanism used is based on the one described in an article by Alan Hendrickson in the Yale Tech Brief called A Hand-Driven Endless-Loop Turntable Drive. I had built one of these units previously to drive a turntable, so we only had to construct two more.
The framework is constructed out of 1.5” x .065” (16 gauge) steel box tubing. It is approximately 36” high, 24” deep and 14.5” wide. Tall enough for an operator to be able to turn the crank without bending uncomfortably and still small enough to fit in an already tight backstage area.
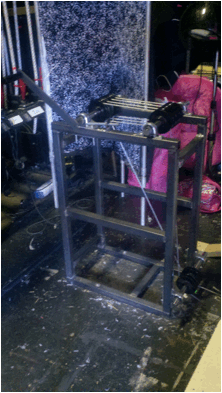
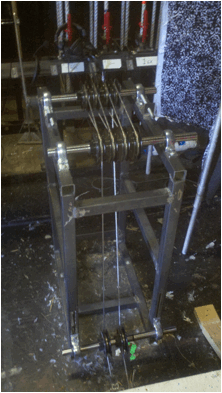
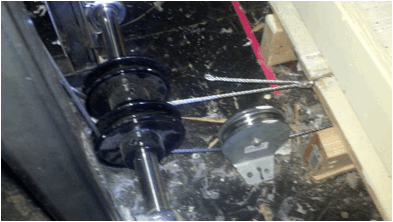
This view shows the driver sheaves (left) and idler sheaves (right). The 1” bore V-belt sheaves were fixed to a slotted cold-rolled steel shaft. The keyways on the shafts are visible in the picture below. The shafts are mounted to the frame with pillow blocks, as shown at the top of the picture. The threaded rod and nut at the top center of the picture is used for pushing back on the driver sheaves to increase cable tension. The sizes of the sheaves used can be altered to change the ratio of cable travel speed to handle turning. 4” sheaves were used for our production.
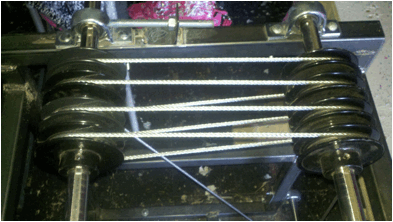
This image shows a closer view of the cable tensioner. The handle is a 14” section of 1.5” x ¼” steel that has been welded to a piece of 1” schedule 40 pipe. This is then welded to the end of the drive shaft. A revolving handle is bolted on at the end (not shown in this picture).
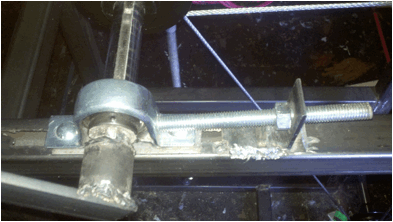
The muling sheaves at the front of the unit are not locked to the shaft. They are allowed to float as needed with the motion of the cable. The pillow blocks supporting this shaft are height adjustable.
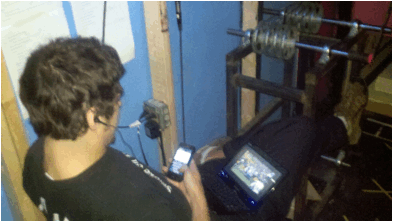
These units cost about $300 each to make. The bulk of the cost was for the sheaves and pillow blocks. This is significantly less than a motor and control system. All of the parts are readily available from McMaster-Carr. Operator comfort was a top priority, as shown below.
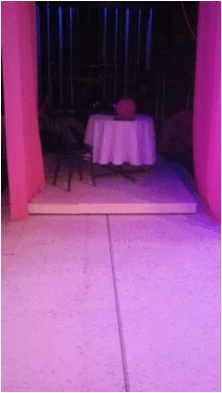
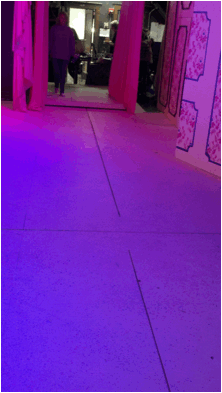
The moving platforms were guided in tracks cut into the deck. The following images show how the layout of the tracks. Each track was approximately ¼” wide. They were kept as narrow as possible so they would not interfere with any of the dancing. The first photo shows a view looking stage left. The second is looking stage right and shows the “intersection” of all three tracks. The system was designed so that the left and right platforms could meet at center to create a single platform. All three platforms could also be lined up, or the center platform could be tracked forward as the left and right platforms closed together upstage of it. The third photo shows the center platform parked upstage in its “garage.”
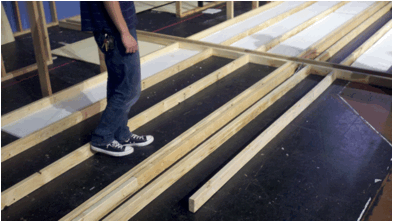
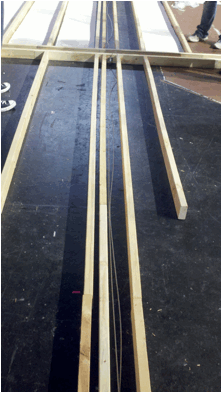
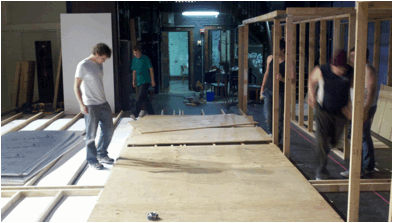
In order to accommodate the tracking mechanism in the floor a show deck was constructed over most of the stage. 2x4’s were used as a substructure. The 3 ½” inch space was a bit tight for the pulleys used for the cable drive mechanism, but the cost to use 2x6’s was prohibitive. The boards on either side of the center track were placed first, then the SL and SR tracks were added. Once the track locations were in place additional 2x4 placed on 18” centers were added. 1” foam insulation board was added between the boards to help absorb some of the sound from dancing and rolling platforms on the deck. The first photo below shows the center track in place with the framing going up to it. The second photo shows the left and right tracks in place with the cables in them. The cables were put in place before the deck was attached.
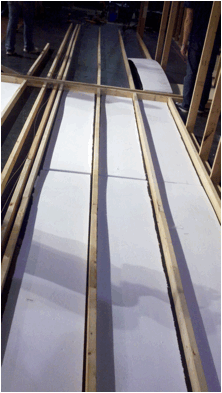
Here we see the foam being put into place between the 2x4s. Once the framework was in place, a deck of ¾” ply was laid on top as shown in the second photo. The tracks were cut after the deck was in place.
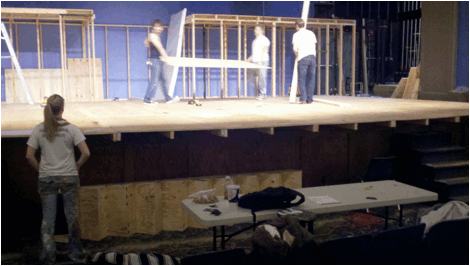
The show deck was cantilevered out over the front of the stage approximately 2.5 feet as shown below. The large structure upstage contains all the doors, the second level for the “upstairs” scenes and the disappearing staircase. The open section visible in the middle is the center platform garage shown earlier.
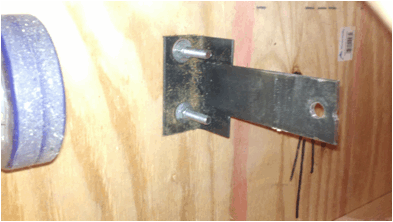
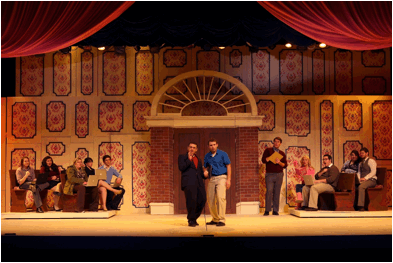
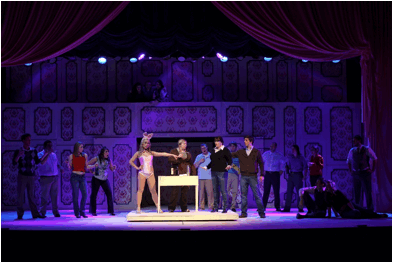
Once the deck was in place and the tracks cut, the platforms were added. Each platform was 6x8 and framed from 2x4 with a ¾” ply top. Nine casters were used on each platform to ensure good weight distribution. Each platform then had two knives attached as shown in the photo below, one at the front and one at the back. These knives went down through the tracks and were attached to the cable coming from the winch. Once the platforms were in place the cables were tensioned and the system was operational. We had taken quite a bit of care to ensure the floor was smooth and even at all of the plywood joints, but after the first test run we found that bit of sanding was required in a couple of spots. Once our trouble spots had been sanded the platforms moved effortlessly. In one of the courtroom scenes, 8 actors on benches rode in and out on one of the units.
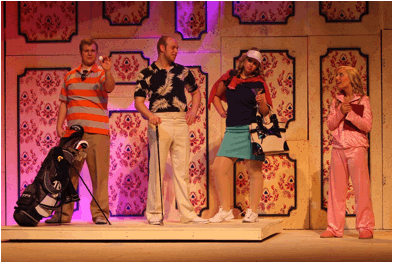
The next few photos show the platforms in use in various scenes in the show. Spike marks were placed on the floor so the operators knew where to position them as they rolled out. We had to rehearse the starts and stops quite a few times until they were smoothed out. The winches worked so easily that it did not take much force to send an actor off the platform after stopping or starting too quickly. Slow starts and stops can be easily programmed into a motor controller from the outset. It is much harder to get a person at a crank to keep it consistent.
In the second and third photos, the center “garage doors” are open. If you look carefully you will see that the insides of the doors are painted to match up with the panels around them when they are in the open position.
Hidden Doors
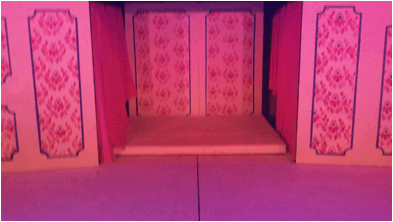
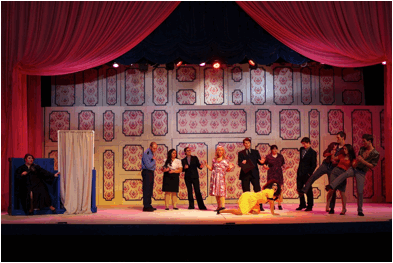
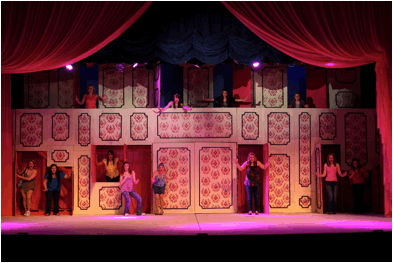
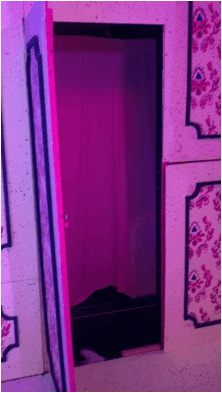
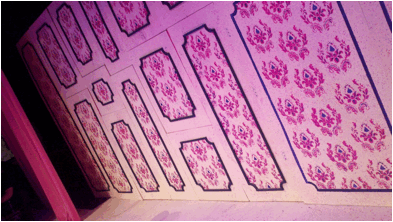
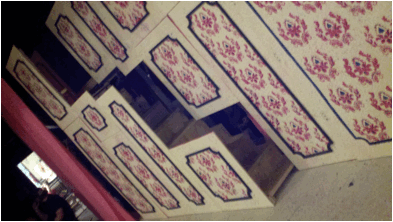
During the opening number, members of the cast pop out of doors hidden within the set. This created a great effect for the times it was used. Several of the doors were used later for quick entrances and escapes behind scenic units as well. The first photo below shows the wall as it normally appears, and the second shows all of the doors opened during the opening musical number. There were 7 doors along the bottom section and 4 across the top. There were an additional 2 doors for the platform garage, for a total of 9 doors on the bottom section. The track in the stage leading into the garage is plainly visible on the second photo. The two doors on stage right (left side of the photo) are part of the disappearing staircase. You can see the framing of the stairs when the doors are open.
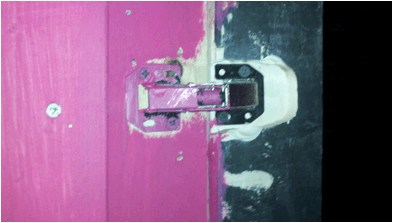
With the tight clearances between doors and adjoining panels, traditional hinges would not work. After some experimentation we settled on cabinet hinges. We had to router in to the supports to get the hinges to work properly, but with some trial and error they worked quite well for the show. The following photos show a close up of a door opened and closed as well as one of the cabinet hinges that we used.
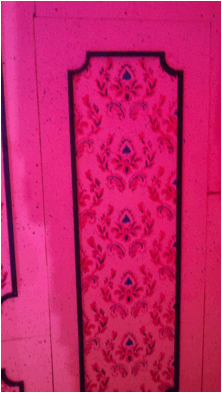
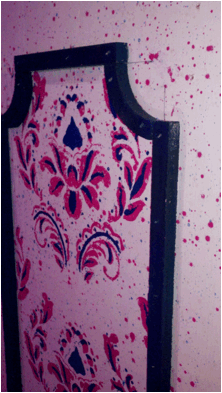
All of the doors and panels had dimensional trim applied, as shown in the next photo. With the amount of trim required, applying real trim was faster and more consistent than painting it on.
Disappearing Stairs
Another effect was the staircase that vanished into the wall. A stair was built on a rolling platform that could move up and down stage. The stair was only two feet wide in order to fit under the upstage platforms. The show deck was extended into the stair pocket built to hold the staircase when it was in the hidden position. Several of the panels were attached to the stair as it rolled forward to create a front railing. When retracted, these panels blended seamlessly with the ones around them. To further complicate the stair unit, it also contained two hidden doors.
We added quite a bit of weight to the platform as the narrow stair was both top heavy and front heavy from the attached panels. The additional weight kept it quite stable and allowed the actors to move safely and comfortably up and down it. There were no fancy winches or other contraptions on this – two stagehands pushed it out from behind and pulled it back in to its hiding place at the end of the scenes.
The first photo shows the stair retracted, the second shows it in the out position. Compare these photos with the previous ones showing the hidden doors, and notice that the panels next to the stair unit are actually doors.
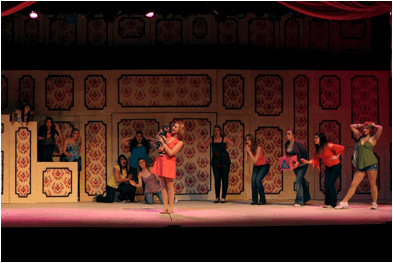
Here the stairs are in use during the production. On a side note, the dog shown in this photo playing Elle’s dog Bruiser made such an impression on my 9 year old daughter that we adopted him from the Humane Society just before the show opened. Bruiser has recovered from his week of fame in the show and is doing well as part of our family.
Legally Blonde was a great success for us. We had a sold out run and a great response to the show from both students and community members. The show was a success for us from a technical standpoint as well. The students who worked on it learned a lot while creating all of the scenic tricks we used. I rarely go over budget on a show, but this one proved to be an exception. This budget overage is offset by the fact that most of the lumber and plywood used in the show deck and rear platform structure can be reused for future shows. Careful planning of the layout ensured that many of the sheets of ply were used as 4x8 and not cut. The 50 sheets of ¾” plywood and hundreds of board feet of 2x4 will be reused well into future seasons.
- Legally Blonde Production Staff:
- Director: Jim Wood (faculty)
- Scenic/Costume Designer: Billy Wilburn (faculty)
- Technical Director: Corey Shelsta (faculty)
- Lighting Designer: Jacob Hofer (student)
- Sound Designer: Marrisa Boesel (student)
- Master Carpenter: Austin Vockrodt (student)
- Scenic Charge Artist: Aarron Schuelke (student)
- Properties: Chris Ebel (student) and Dani Wermedal (student)
Corey Shelsta is Professor of Theatre, Scenic and Lighting Designer
at the Department of Communication Studies and Theatre,
South Dakota State University
