A Pile of Plastic Parts = Pippins Painted Armor.
by Marisa Sorce
In the Fall 2018 semester I had the opportunity to create breastplates and helmets for Pippin at the University of Minnesota designed by Stacey Palmer. Seventeen breastplates of varying styles and eleven helmets in three styles were purchased from Tobins Lake Studios.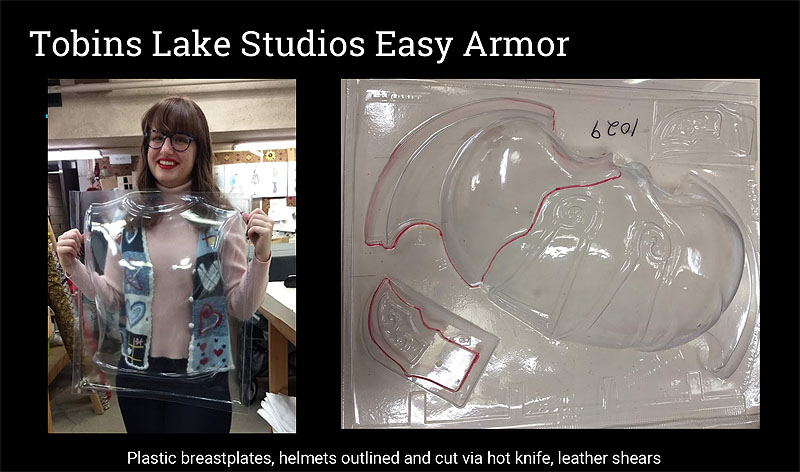 The pieces came as a pile of clear plastic forms that needed a lot of work.
Breastplates were cut out of the plastic using a hot knife, while helmet pieces were cut using leather shears. Breastplates and helmet pieces were based with a coat of Rosco Flexcoat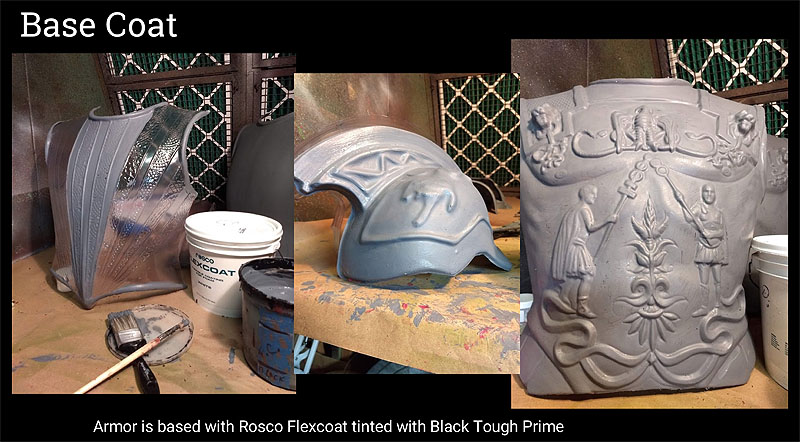 mixed with black paint to create a base layer that could be painted upon. All edges of the breastplates and the bottom edge of the helmets were finished by slicing open ¾’’ ethafoam rods that were then adhered to the edges
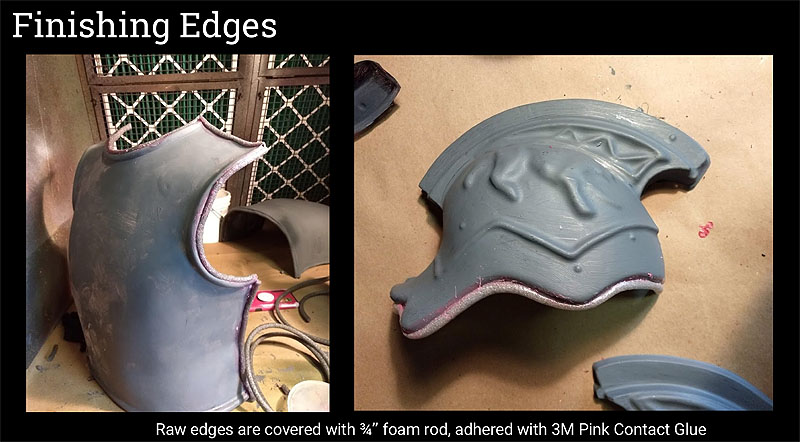 with 3M Pink Contact Glue for the safety and comfort of the actors. The 3M Pink Contact Glue was chosen from stock options in our shop. All of the 3M Fast Bond products work great on soft foams like this. They work well as a primer for finishing layers of paint and have the added benefit of preventing peeling and chipping.
I then started constructing the helmets which arrived in two halves split down the middle- 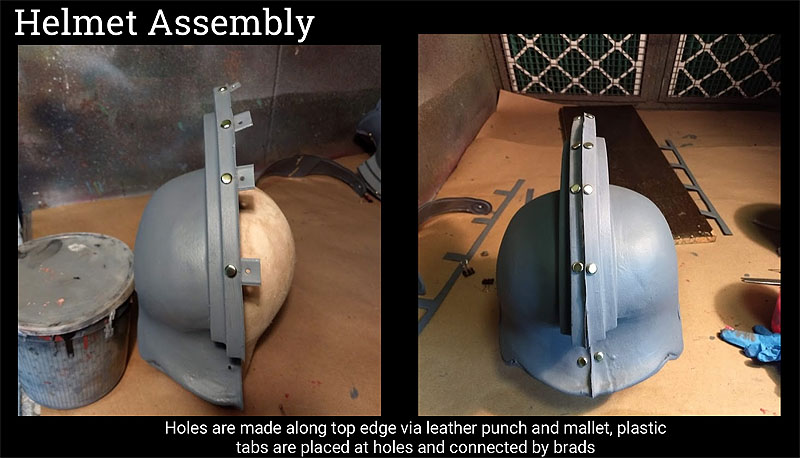 two halves of a visor, and two ear flaps. To connect the halves of the helmet I used a leather punch and mallet to create holes along the center top of the helmet as well as the low back and low front. I used scrap pieces of plastic to cut out small strips that were pierced with the leather punch and placed brads through top of armor and strips to hold halves together. The center seam was also backed by the 3M Pink glue for extra support. Visor and ear flaps were attached using leather punch and brads as well.
 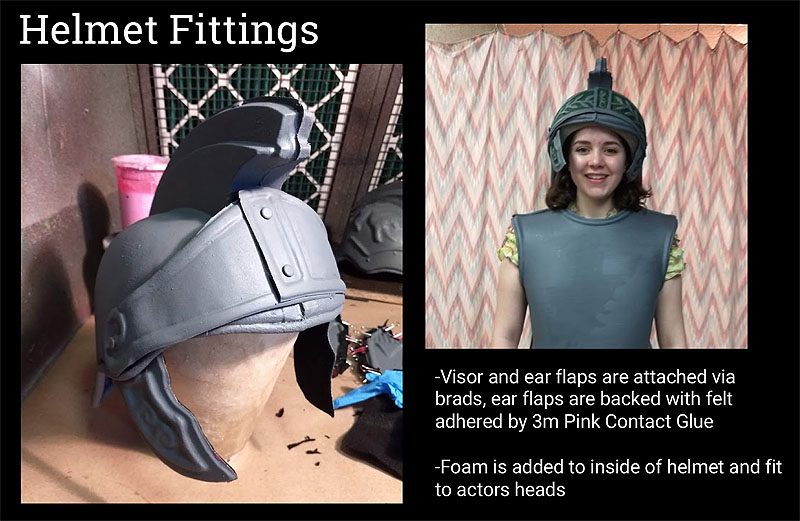 Ear flaps were backed with felt adhered by 3M Pink Glue for actor comfort. Any brads that were exposed on inside of helmet were also covered by felt. I then added foam to the inside of the helmets to fit the actors heads and ensure they would remain secure during choreography.
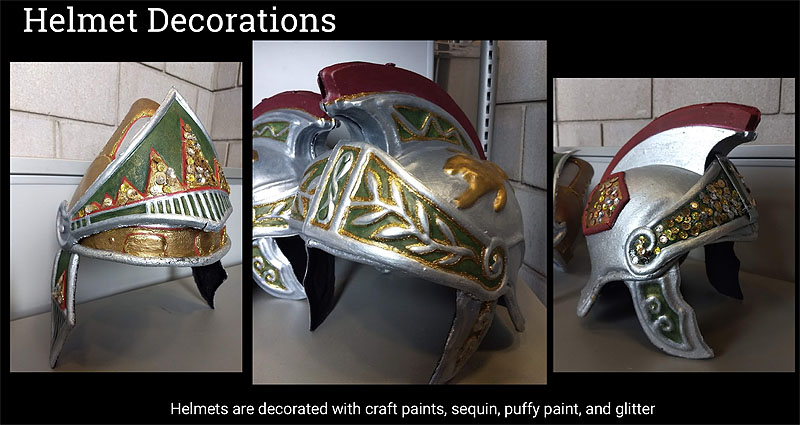
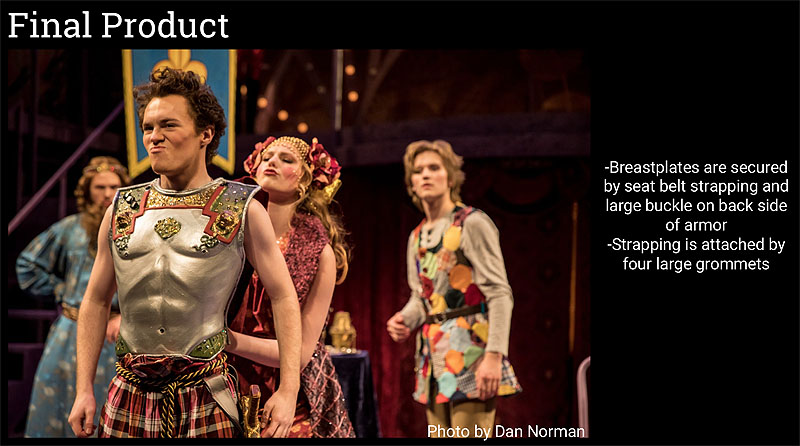
Breastplates were backed with felt using 3m Pink Glue to make the pieces sturdier. The breastplates were painted using craft paints. The breastplates were fitted with black seat belt strapping that attached at 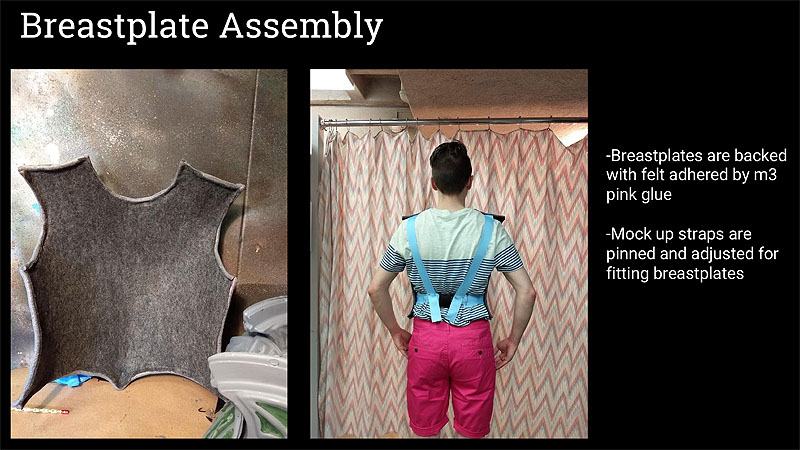 the shoulders and hips on each side of actor and were secured with a large buckle at the center back. The straps were stitched into place after being fitted and were attached to the armor using large grommets. Fabric capes were built to hide the strapping on the back and were stitched onto each shoulder strap using a domestic sewing machine. ¾’’ foam rods were cut in half and adhered onto the armor with 3M pink glue to create three-dimensional designs on breastplates.
The armor was then decorated using various sizes and shapes of  sequins, glitter glue, glitter, and computer parts including keyboard keys, wires, and circuit boards using a hot glue gun. Ten
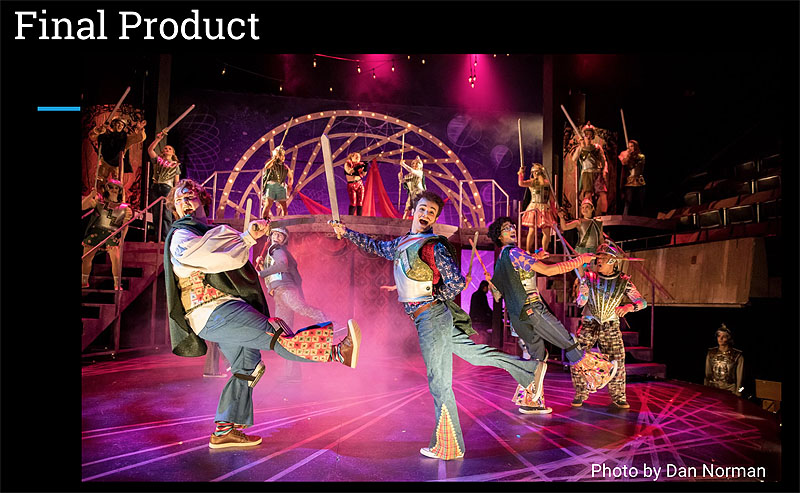
 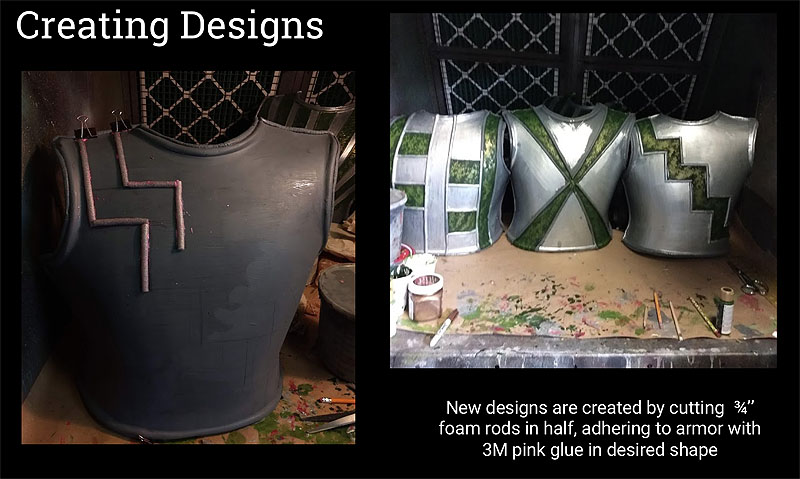 pairs of foam knee pads were also painted in corresponding colors and decorated with sequins. The total project took several weeks to complete and was successful because of the work of many hands.